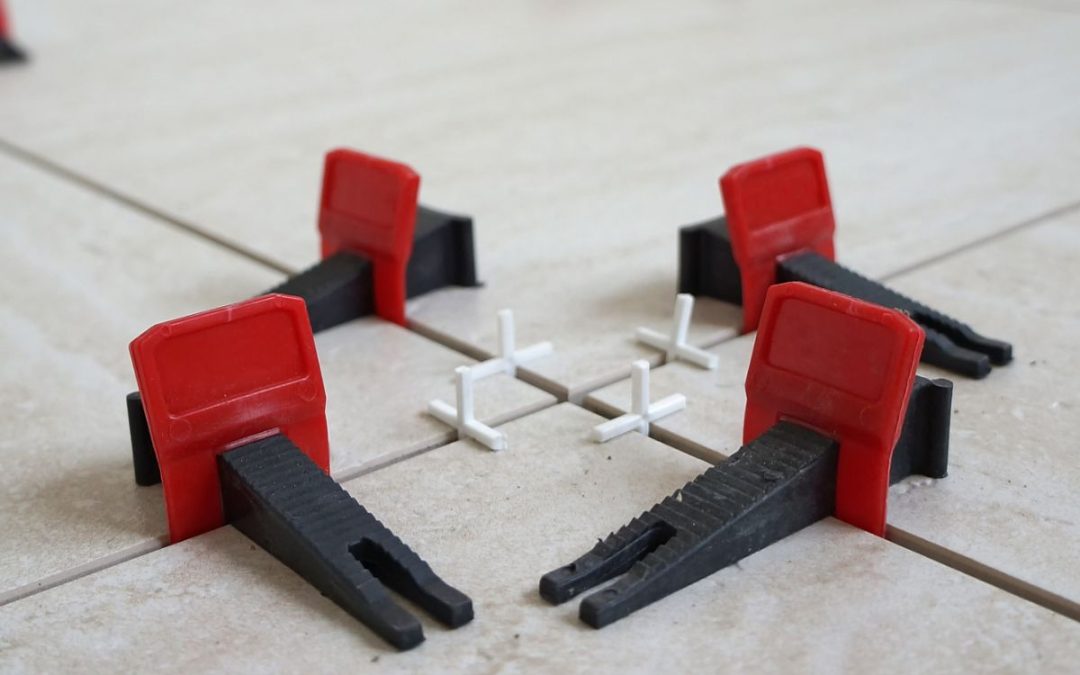
Those tiny little plastic Ts may look fussy and insignificant, but using them can mean the difference between sloppy or polished when considering your finished tiling project. Tile spacers are worth the fuss!
When installing tile it is important to leave a small gap – 1 to 2mm wide – between each piece.
This gap:
– Allows for compensation should there be any slight variation in the size of your tiles.
– Accommodates the natural expansion and contraction of tiles over time.
– Enables the replacement of individual tiles should the need arise.
– Creates the space for grout which strengthens the installation of your tiling project.
Using tile spacers ensures that the gap between tiles is consistent – so you get even grout lines as you go. These even lines will give your project a crisp finished appearance whether you choose grout that coordinates or contrasts with your tile. Because spacers take the guesswork out of positioning tiles, they allow for faster work. Spacers also help keep your flooring project level so there is no sense of a height variation when you are walking over it later.
Tile spacers are made of plastic and shaped like a cross, a T, or sometimes a horseshoe. They come in various sizes depending on the size gap you prefer, most commonly ¼ to ⅜ inch in width. Regardless of shape they all work similarly. As tiles are installed, spacers are placed at each joint – the point where 4 tiles meet – or at the corner of each tile when tiles are offset. Tiles should be installed so that they are pressed snugly against the spacers, ensuring uniformity across the project. Once installation is complete, the spacers are removed and can be used for future tiling projects.
Taking the time to install your tile well will give you the stylish look and durable finish you desire. For a guaranteed professional look contact us at Floor Zone – we can help you select the right tile and grout for your project, and install it to give you exactly the look you envision!

